


Lian li uni fan sl120 setup instructions,Lian li uni fan SL120 Setup Instructions: A Detailed Guide

Lian li uni fan SL120 Setup Instructions: A Detailed Guide
When it comes to setting up your new Lian Li uni fan SL120, you want to ensure that the process is smooth and that you get the most out of your purchase. This guide will walk you through the setup process, covering everything from unpacking to installation and configuration.
Unboxing the Lian Li uni fan SL120

Upon receiving your Lian Li uni fan SL120, the first step is to carefully unbox it. Here’s what you should do:
- Remove the fan from the box and inspect it for any damage.
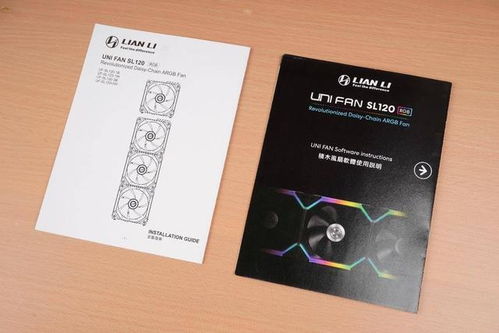
- Check the contents of the box to ensure that all the components are present, including the fan, mounting brackets, screws, and any additional accessories.
- Keep the packaging and all the contents in a safe place for future reference or in case you need to return the product.
Mounting the Lian Li uni fan SL120
Once you’ve confirmed that everything is in order, it’s time to mount the fan. Here’s how to do it:
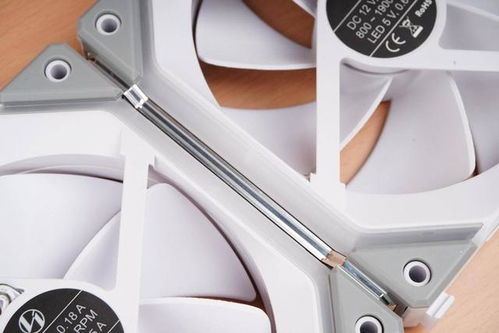
- Locate the mounting brackets that came with the fan. They are usually made of metal and have pre-drilled holes for easy installation.
- Attach the brackets to the back of the fan using the provided screws. Make sure they are tight and secure.
- Position the fan where you want it to be mounted. The Lian Li uni fan SL120 is designed to be mounted on a 120mm fan mount, so ensure that the mount is compatible with your case.
- Attach the fan to the mount using the included screws. Again, make sure they are tight and secure.
Connecting the Lian Li uni fan SL120
After mounting the fan, it’s time to connect it to your system. Here’s what you need to do:
- Locate the power supply unit (PSU) in your case. The Lian Li uni fan SL120 comes with a 3-pin power connector, which is compatible with most motherboards and PSUs.
- Connect the 3-pin power connector from the fan to a free 3-pin header on your motherboard or PSU. Ensure that the connection is secure.
- Check the fan’s RPM and PWM settings. The Lian Li uni fan SL120 features a PWM control, allowing you to adjust the fan speed based on your system’s needs. You can use the included PWM controller to set the desired speed.
Configuring the Lian Li uni fan SL120
Now that the fan is mounted and connected, it’s time to configure it to your liking. Here’s how to do it:
- Open your computer’s case and locate the fan’s PWM controller. It’s usually a small, black box with a few buttons and a display.
- Press the buttons on the controller to navigate through the settings. You can adjust the fan speed, set a curve, or enable the fan’s LED lighting.
- Save your settings and close the case. Your Lian Li uni fan SL120 is now configured to your preferences.
Testing the Lian Li uni fan SL120
Before you put your system back together, it’s essential to test the Lian Li uni fan SL120 to ensure that it’s working correctly. Here’s what you should do:
- Power on your computer and observe the fan’s RPM and PWM settings. The fan should spin at the speed you set on the controller.
- Check the fan’s LED lighting, if applicable. The lights should be on and working as expected.
- Listen for any unusual noises or vibrations. The fan should operate silently and smoothly.
Putting Everything Back Together
Once you’ve confirmed that the Lian Li uni fan SL120 is working correctly, it’s time to put your system back together. Here’s a quick rundown of the steps:
- Remove the fan from the mount and set it aside.
- Reconnect any cables or components that you may have disconnected during the setup process.
- Close the case and secure it with the screws.
- Power on your computer and enjoy the benefits of your new Lian Li uni fan SL


