


installing lian li uni fans,Installing Lian Li Uni Fans: A Comprehensive Guide

Installing Lian Li Uni Fans: A Comprehensive Guide
Upgrading your computer’s cooling system is a crucial task for ensuring optimal performance and longevity. One of the most popular choices for enthusiasts is the Lian Li Uni Fans. These fans are known for their exceptional build quality, quiet operation, and efficient cooling capabilities. If you’re planning to install Lian Li Uni Fans in your system, this guide will walk you through the process step by step.
Understanding the Lian Li Uni Fans

Before diving into the installation process, it’s essential to familiarize yourself with the Lian Li Uni Fans. These fans come in various sizes, including 120mm, 140mm, and 200mm, and are designed to fit different cases and cooling needs. They feature a unique design with a circular frame and a central hub, which helps in distributing airflow evenly across the fan surface.
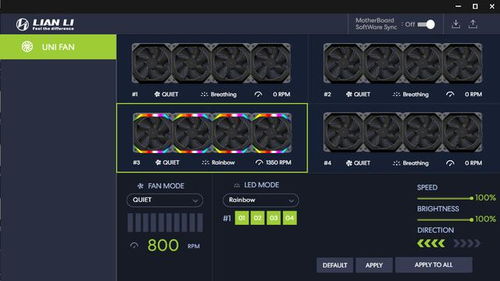
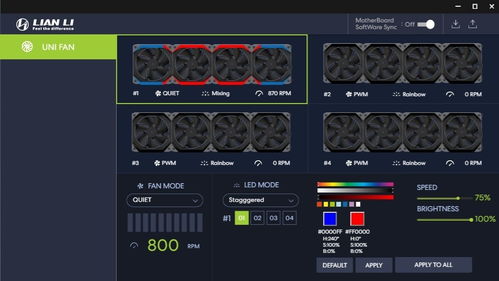
One of the standout features of the Lian Li Uni Fans is their PWM (Pulse Width Modulation) control, which allows for variable speed adjustments. This feature is particularly useful for maintaining a balance between cooling efficiency and noise levels. Additionally, the fans are compatible with most motherboards that support PWM control.
Preparation for Installation
Before you start installing the Lian Li Uni Fans, ensure you have the following tools and materials ready:
- screwdriver (flat-head or Phillips-head, depending on the fan model)
- thermal paste (if you’re replacing an existing fan)
- gloves (to prevent smudging the fan surface)
- a clean, flat surface to work on
It’s also a good idea to have a case with adequate space for the fans, as they can be quite large. Make sure your case has the necessary mounting points for the fan size you’ve chosen.
Step-by-Step Installation Guide
Follow these steps to install your Lian Li Uni Fans:
-
Remove the existing fan (if applicable) from your case. This may involve unscrewing it from the mounting points or removing the fan bracket.
-
Apply a thin layer of thermal paste to the CPU or GPU if you’re replacing an existing fan. This will help in transferring heat more efficiently.
-
Position the Lian Li Uni Fan on the mounting points. Ensure that the fan is aligned correctly and that the mounting holes match up with the fan’s mounting points.
-
Screw the fan into place using the provided screws. Be sure to tighten them evenly to avoid damaging the fan or the case.
-
Connect the fan’s power cable to the appropriate PWM header on your motherboard. If your motherboard doesn’t have a PWM header, you can use a 3-pin to 4-pin adapter.
-
Check the fan’s rotation direction. If the fan is blowing air towards the components, you’re good to go. If it’s blowing air away from the components, you may need to reverse the fan’s orientation by swapping the power cable connections.
-
Reassemble your case and power on your computer to test the fan’s operation.
Additional Tips
Here are some additional tips to ensure a successful installation:
-
Always handle the fans with care to avoid damaging the surface or the internal components.
-
Make sure the fan is securely mounted to prevent vibrations and noise.
-
Keep the fan’s airflow path clear of obstructions to ensure optimal cooling performance.
-
Monitor your system’s temperatures to ensure the fans are working effectively.
Conclusion
Installing Lian Li Uni Fans is a straightforward process that can significantly improve your computer’s cooling performance. By following this guide, you’ll be able to enjoy the benefits of these high-quality fans in no time. Remember to handle the fans with care and ensure they are securely mounted to prevent any issues. Happy building!
| Size | Color | Speed | Bearing Type |
|---|


